
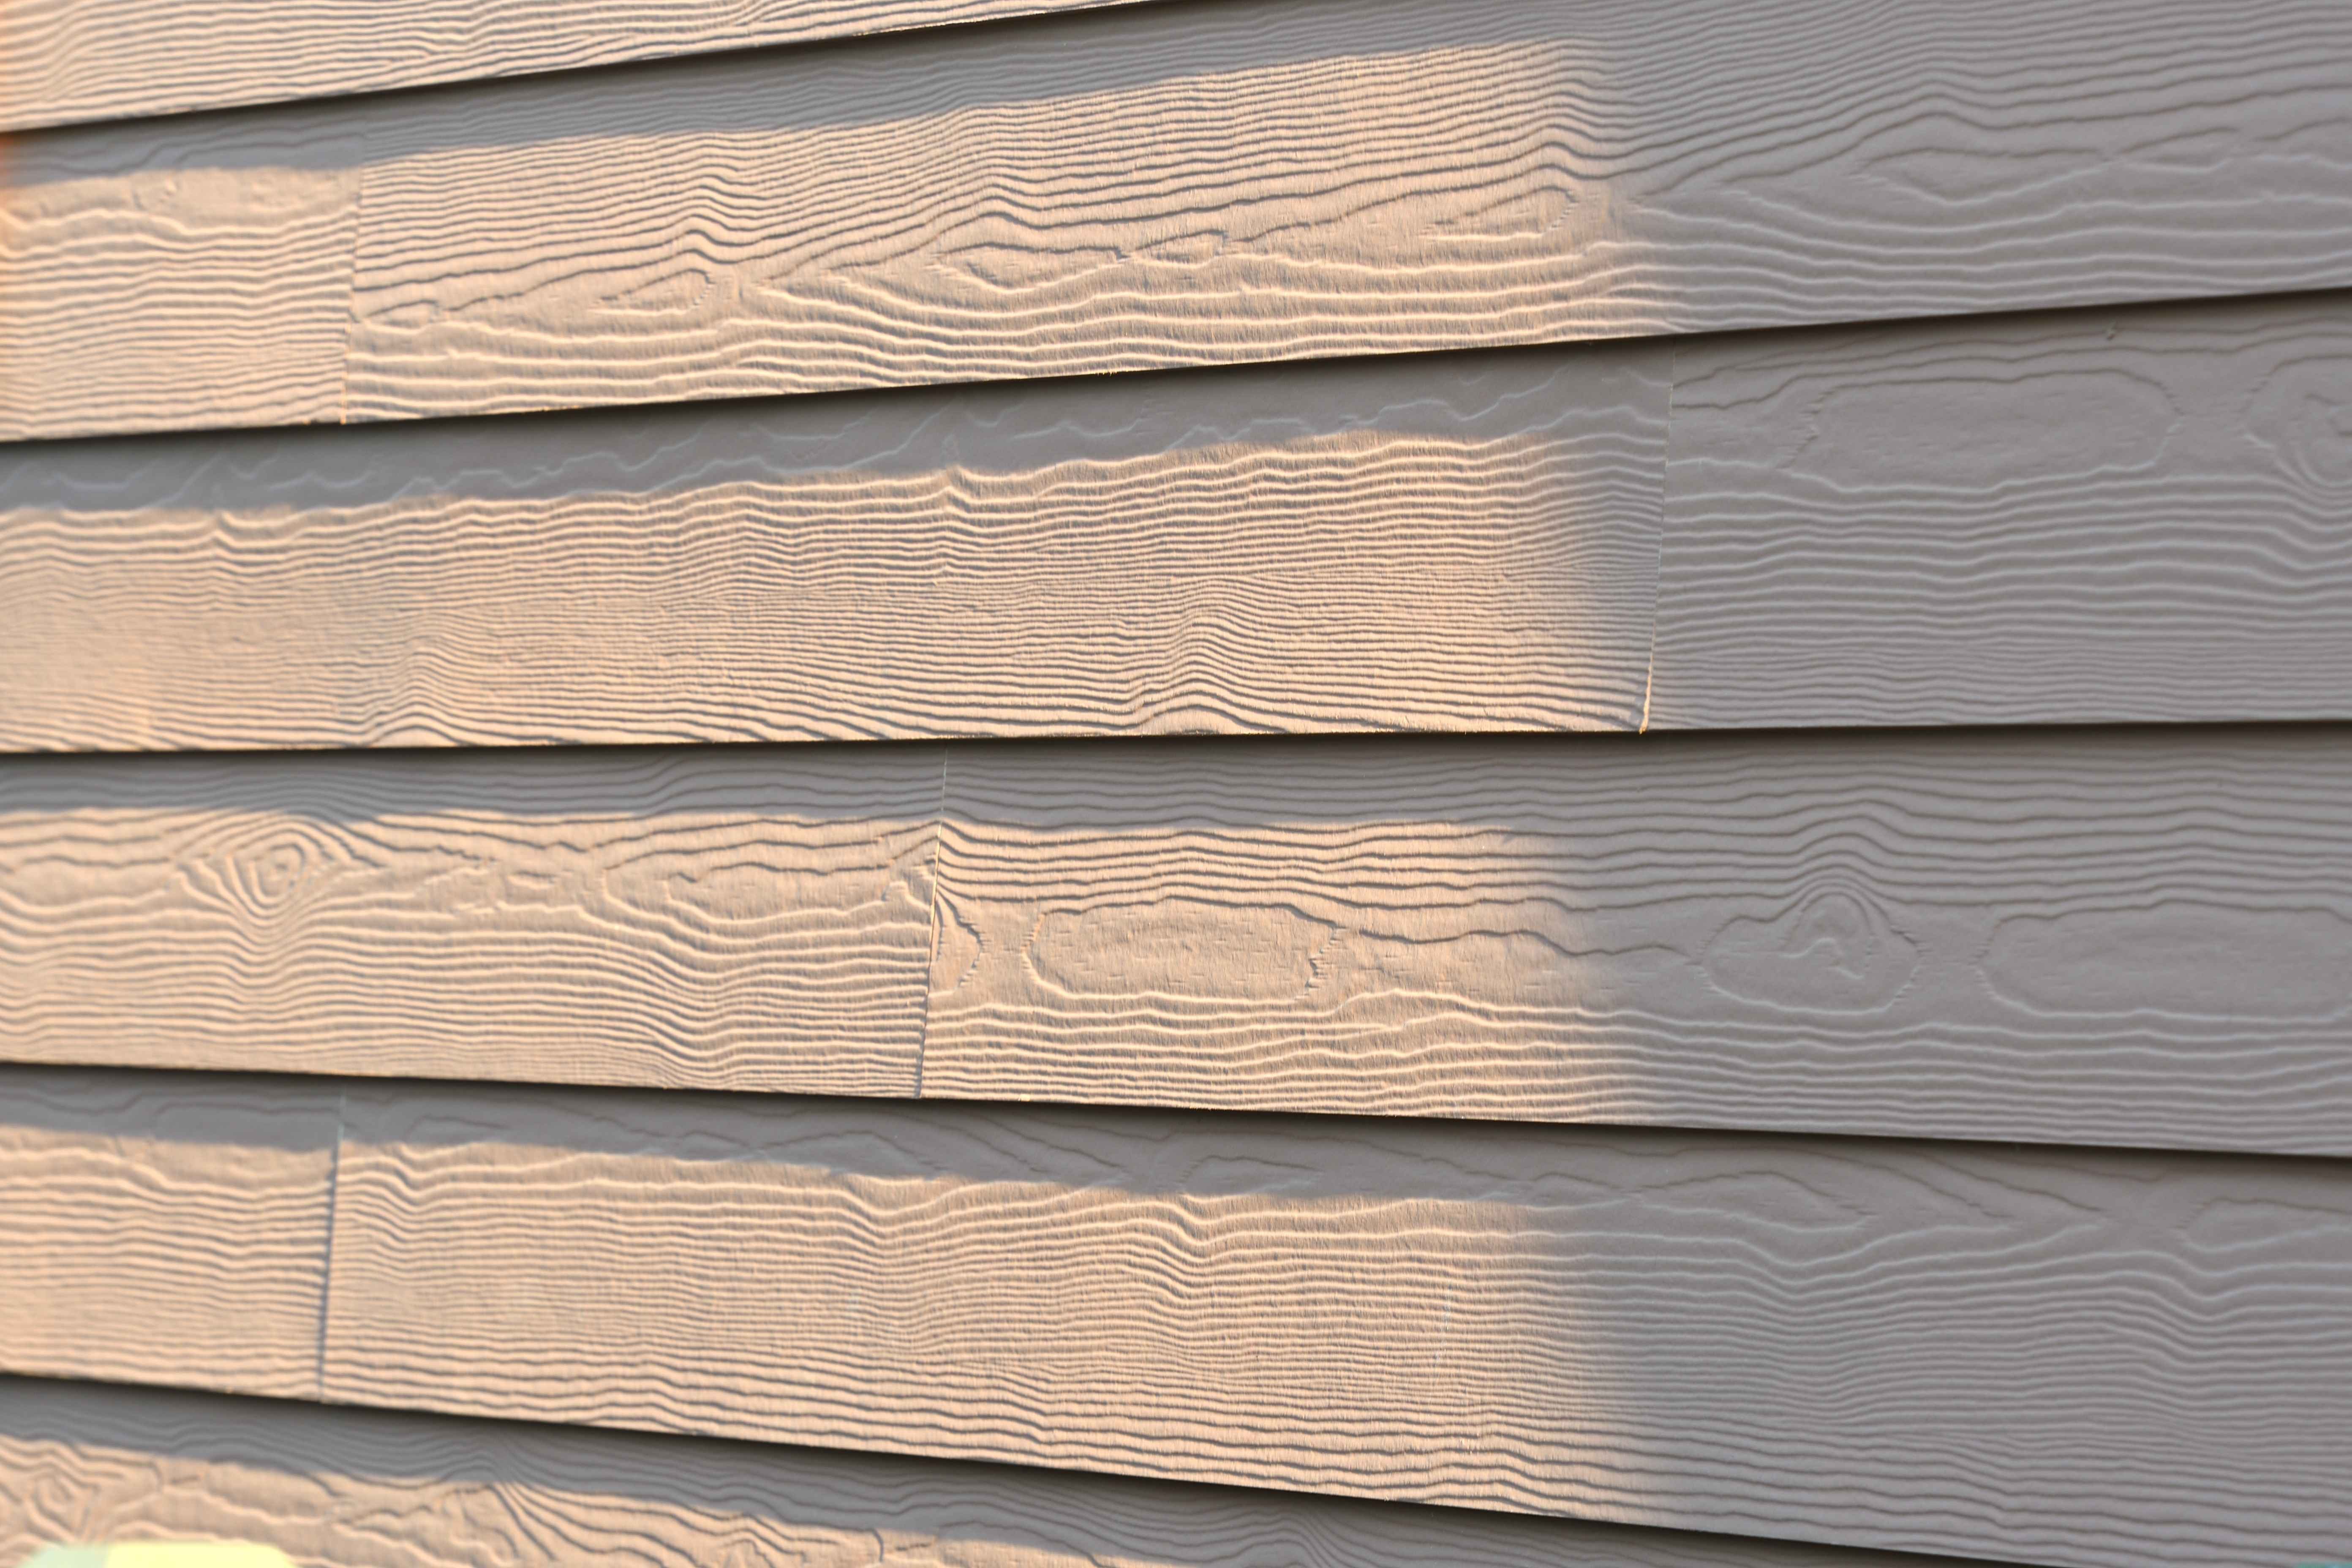
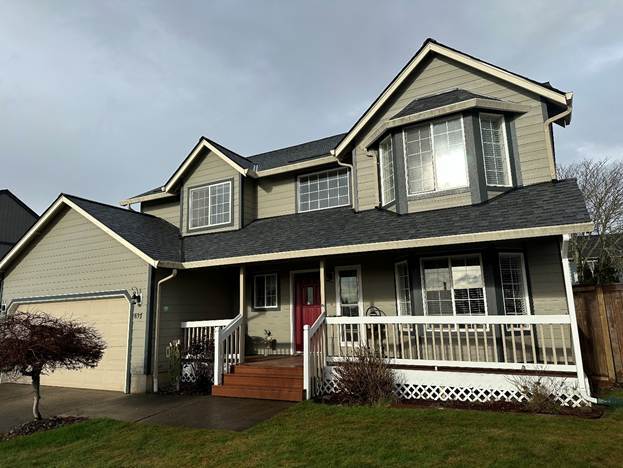
Replacing your home’s siding is a significant investment, and knowing what to expect can help you stay at peace during the process.
Fiber cement siding installation involves much more than removing old siding and attaching new boards to a wall. The process includes crucial steps that help ensure your new siding performs properly and looks its best for years to come.
Since 2008, Pacific Exteriors has guided homeowners through each stage of the siding replacement process, from the initial inspection to the final walkthrough. Understanding each step can help you prepare your home, recognize quality workmanship, and know what questions to ask your siding contractor.
The exact process can vary depending on the contractor, home, and project scope, so not every siding replacement will follow the same steps or include the same services. However, a well-managed project should include proper planning, necessary repairs, quality installation, clear communication, and appropriate cleanup.
In this guide, we’ll walk you through what to expect before, during, and after your fiber cement siding installation.
Fiber Cement Siding Installation Overview
.jpg?width=1592&height=1080&name=Fiber%20cement%20installation%20timeline%20(2).jpg)
Preparing for Installation
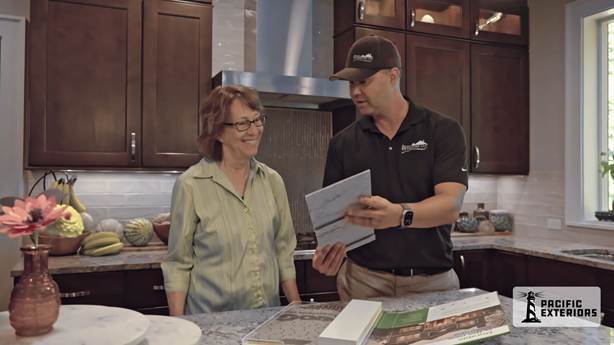
Before installation begins, an estimator will complete an exterior inspection to assess your existing siding, take measurements, and identify any potential issues. You’ll also discuss your fiber cement siding options, including colors, profiles, trim, and other design details.
If you’re considering additional exterior improvements, this is also the time to discuss add-on services such as gutters, windows, doors, or exterior painting (if offered by the company) so they can be incorporated into the project plan and estimate.
Once the project is approved, your assigned project manager will coordinate the logistics, including scheduling, permits and HOA regulations (if required), material delivery, and communication leading up to installation day.
This preparation helps ensure the crew arrives with the materials and project details needed to begin installation efficiently.
How Long Does Fiber Cement Siding Installation Take?
A typical fiber cement siding installation takes approximately 1 to 3 weeks.
However, the project entirety can take a few months due to finishing details, add-ons like windows and doors, project manager approvals, and fixing any concerns a homeowner might have.
However, every home is different, and several factors can affect the timeline:
Home Size and Height
Larger homes typically require more materials and labor. Consequently, multi-story homes can also take longer because crews may need additional scaffolding, staging, and equipment to safely access upper elevations.
Removal of Existing Siding Material
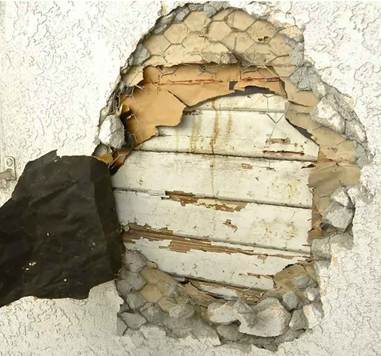
The existing siding material can significantly impact the timing of the tear-off process. Removing basic vinyl or aluminum siding may be relatively straightforward. On the other hand, removing stucco, layered cedar shingles, or multiple layers of siding can require more labor and time.
Hidden Damage
Hidden damage may not be visible until the old siding is removed. Contractors may uncover rotten sheathing, water damage, damaged framing, insect damage, or failed flashing.
These issues need to be repaired before new siding can be installed. Unexpected repairs can increase the overall cost of the project due to time, labor, and materials. As a result, your contractor should explain any hidden damage and the exact cost estimates before continuing any work, so you don’t get bombarded with any unexpected, costly surprises.
Architectural Complexity

Homes with intricate windows, door trim, custom corners, multiple siding profiles, or detailed architectural transitions may require additional installation time. These areas require more precise measurements, cutting, fitting, and flashing to ensure the siding follows the home's design while maintaining proper weather protection.
Weather

However, normal weather conditions typically have little effect on the overall timeline. This is especially true in Seattle since it doesn’t rain continuously every day and even if does, we experience light, drizzling rain. As a result, crews can adjust their schedules and continue installation during suitable weather conditions.
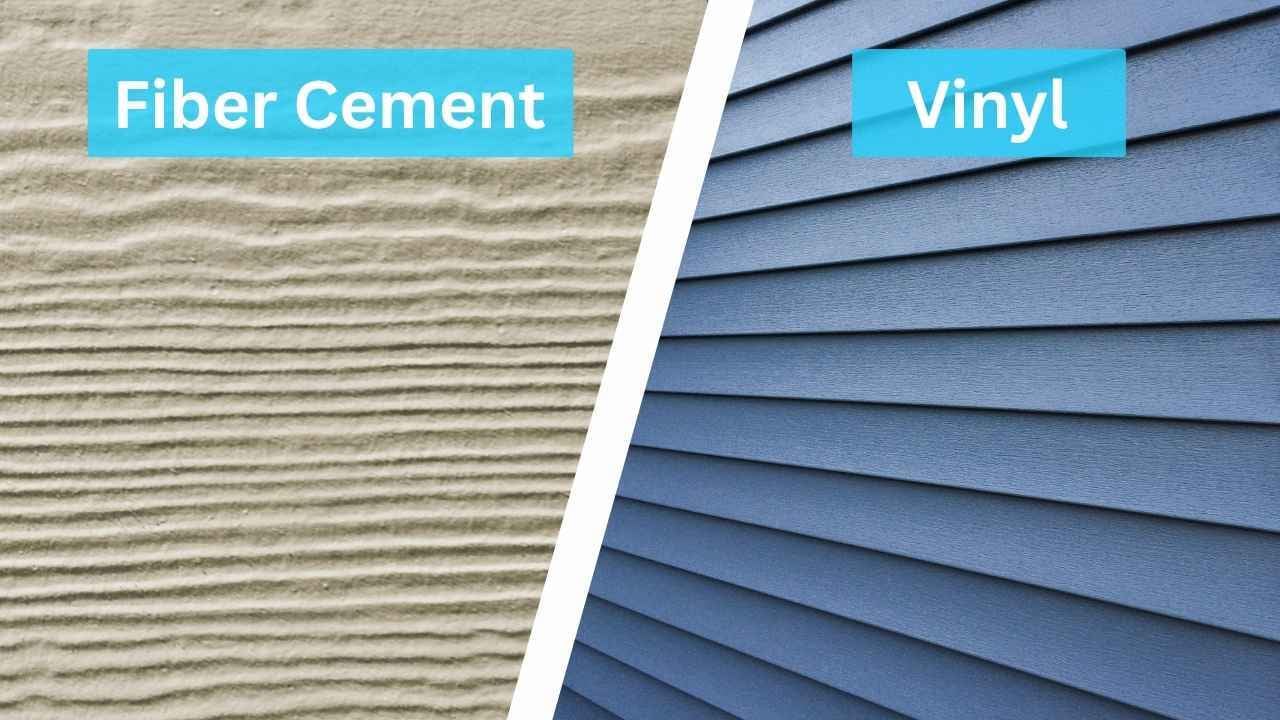
Not to mention, because fiber cement is heavier than other siding materials, it also requires specialized tools, careful handling, and precise cutting. This can make installation more labor-intensive and time-consuming than installing lighter siding products like vinyl.
The Steps of Fiber Cement Siding Installation
Step 1: Protecting the Work Area
Before demolition begins, the crew prepares the jobsite by having materials and a dumpster delivered and establishing a designated area for measuring and cutting the fiber cement. Homeowners should expect increased activity, deliveries, equipment, and construction noise during this stage.
Step 2: Removing the Existing Siding
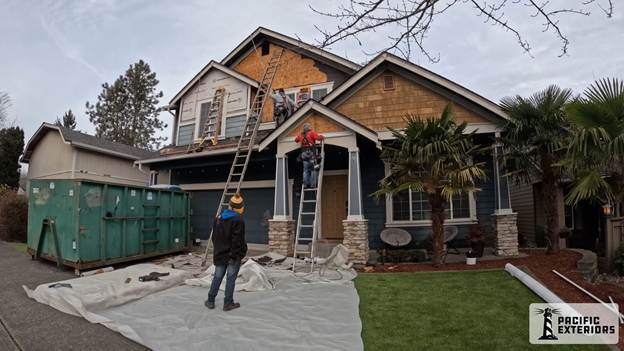
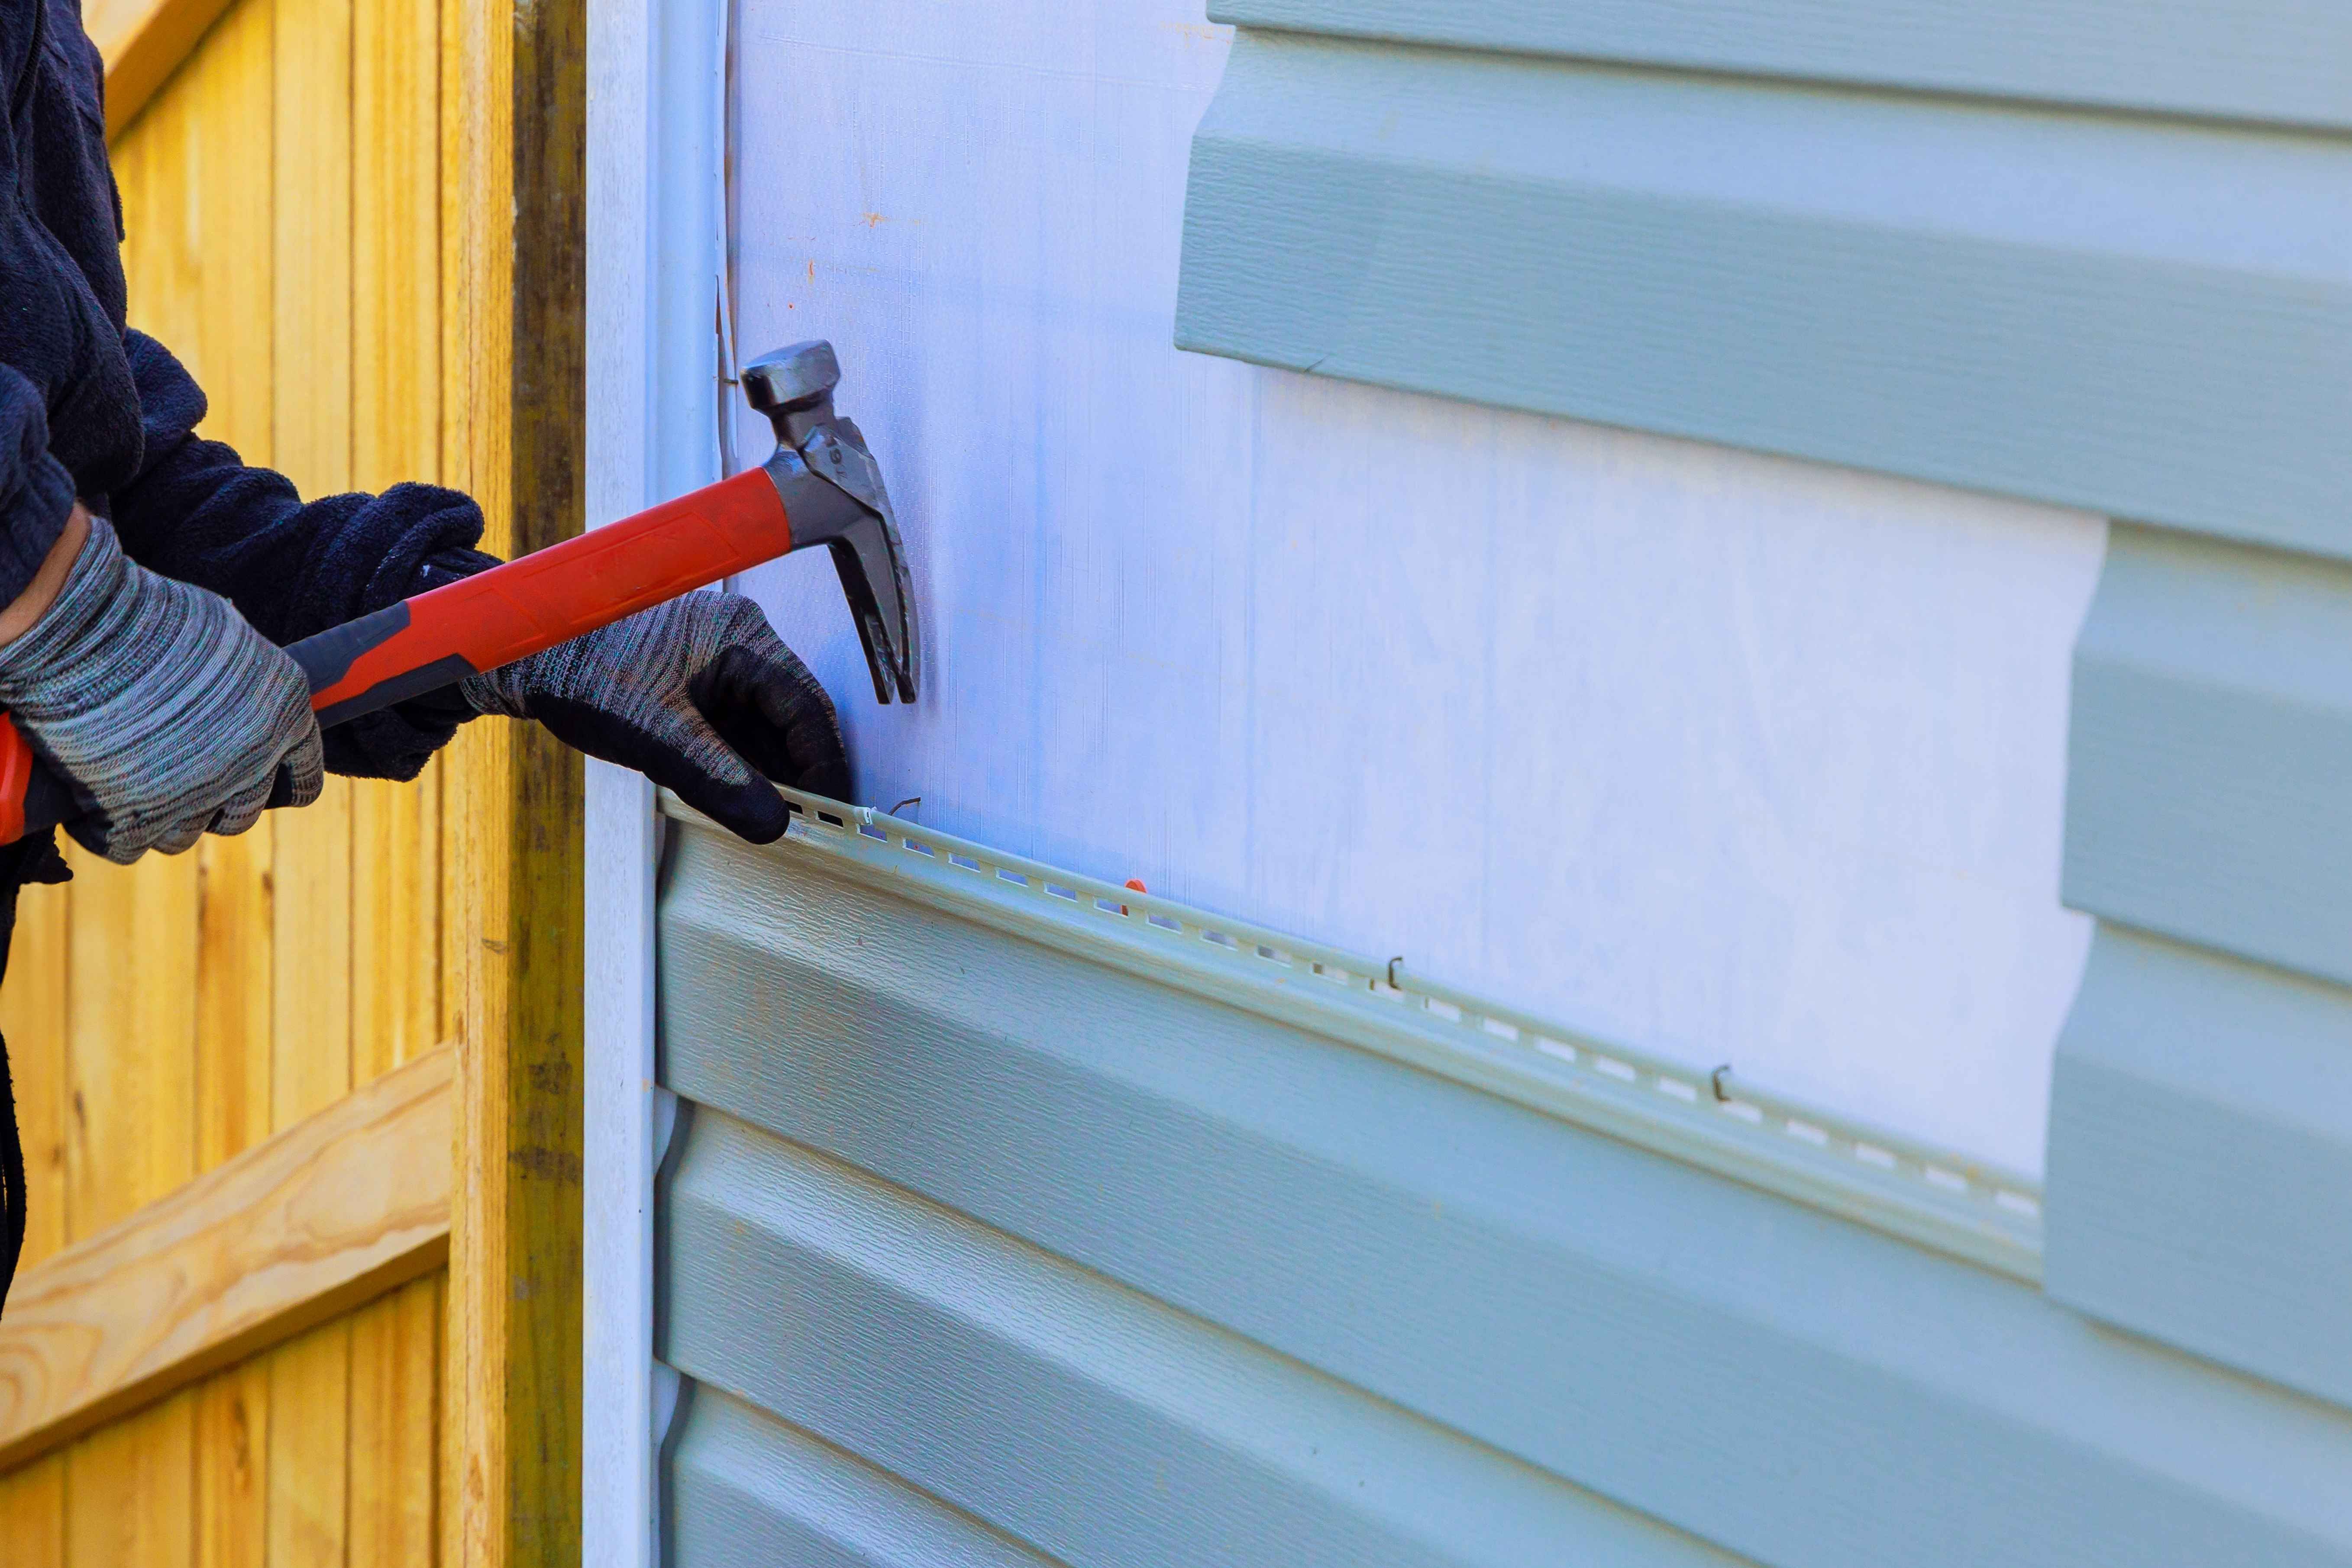
Now it’s finally time to get our hands dirty. The crew carefully removes the existing siding and other components that interfere with the replacement.
During this stage, the crew will:
Remove the existing siding, trim, flashing, and other exterior materials: Sections are taken off to expose the wall and materials underneath the old siding system.
Expose the wall assembly: Removing the old siding allows the contractor to inspect the underlying materials for damage before installation of the new siding system over those materials begins.
Removing the existing siding rather than installing over it allows the contractor to inspect the underlying wall and address potential problems before covering them with new siding material.
Step 3: Inspecting the Wall for Hidden Damage
Once the existing siding has been removed, the contractor can inspect the underlying wall assembly. This is a critical stage of fiber cement siding replacement because any damage should be addressed before the new siding covers the wall.
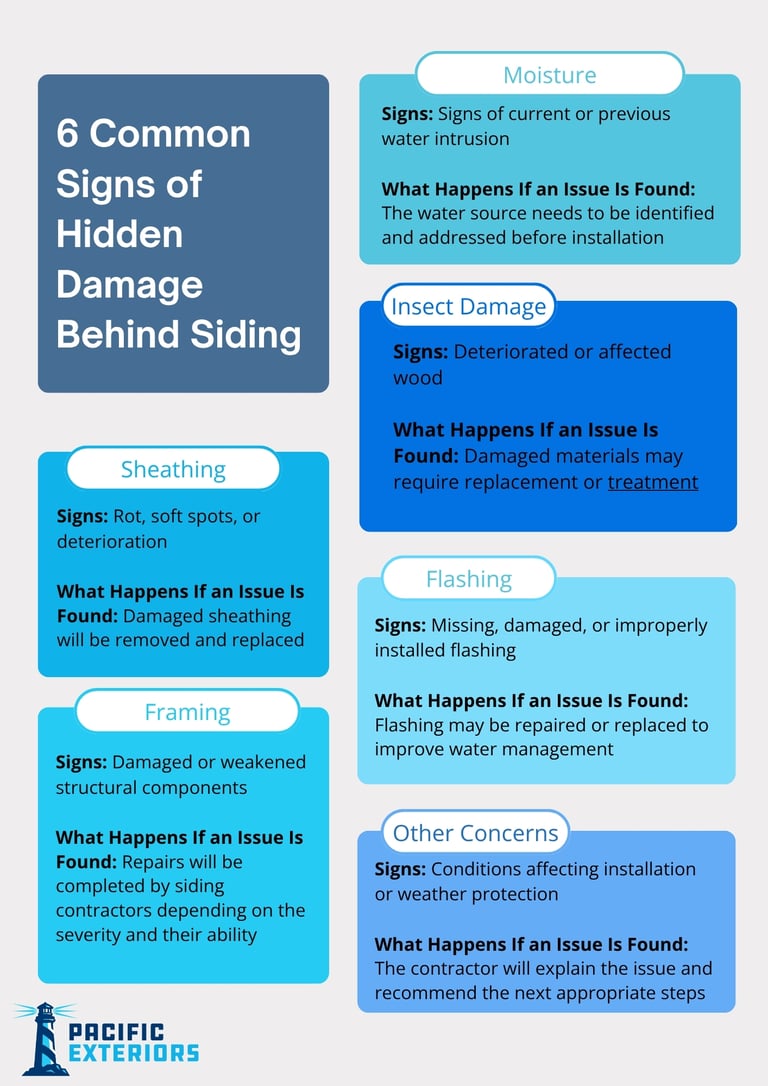
If damaged sheathing is found, it can be replaced. Depending on the situation and project scope, structural repairs such as damaged framing should also be addressed.
If a problem falls outside the contractor's scope of work, such as mold treatment or extensive structural repairs, the homeowner may need to find a specialized professional. A reputable contractor should communicate the issue and help the homeowner understand what needs to happen next.
Step 4: Waterproofing the Wall
Before the new siding is installed, the wall needs to provide a solid, dry foundation.
A typical waterproof wall that’s behind the siding panels includes a sheathing layer made from plywood or OSB, followed by a weather-resistive barrier (WRB) or house wrap, and flashing.
Weather-Resistive Barriers
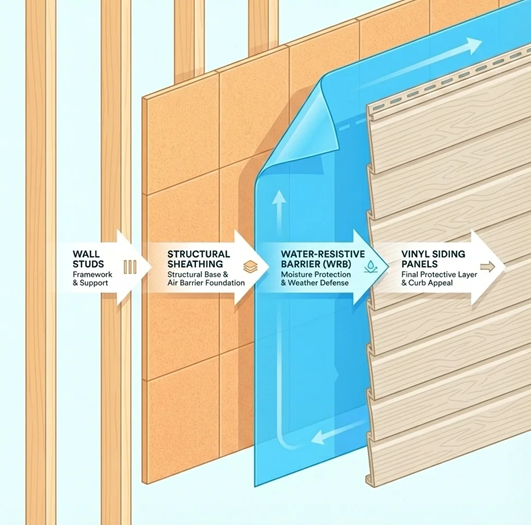
The weather-resistive barrier (WRB) is an important part of the home's moisture-management system. It helps prevent water that gets behind the siding from reaching the wall assembly while allowing trapped moisture vapor to escape.
Flashing
Flashing is a water-management material installed around windows, doors, gaps, and penetration areas where water is more likely to enter the wall. It helps direct water away from openings and transitions rather than allowing it to reach the sheathing or framing.
Small amounts of water entering behind siding panels are inevitable even with weather-resistive barriers and flashing directing the large amounts of moisture away. However, these two materials allow that small amount of moisture to vaporize and escape, rather than just being trapped behind the siding system and making materials rot.
Step 5: Installing the Fiber Cement Siding
Once the wall has been properly prepared and waterproofed, the crew can begin installing the fiber cement siding. Each piece is measured, cut, positioned, and fastened according to the manufacturer's installation requirements.
The installation process includes:
Installing the siding panels
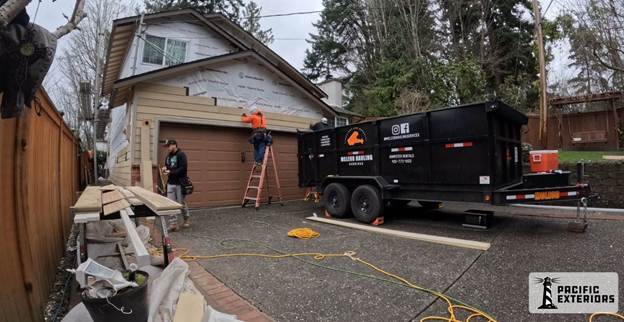
The crew works from the bottom to top, carefully measuring and cutting each panel to fit. Each panel or board is positioned with the proper clearances, overlaps, and spacing, then securely fastened with the appropriate nails or fasteners according to the manufacturer's requirements. This helps maintain consistent alignment while providing a secure, durable installation.
Installing trim, soffits, fascia
If included in the project plan, trim is installed around windows, doors, corners, and other transitions to create clean edges and protect exposed areas. Additionally, crews also install the soffit and fascia around the roofline, carefully maintaining proper clearances, alignment, and ventilation.
Integrating flashing with panel placement
Flashing is incorporated at joints, openings, and transitions to support proper water management.
Because fiber cement is heavier and more brittle than other siding materials, proper handling, cutting, and fastening are important for achieving a clean, durable installation.
Step 6: Finishing Details, Cleanup, and Quality Control
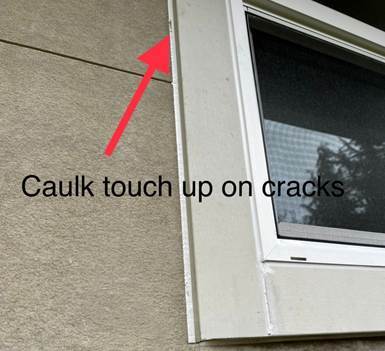
After the primary siding is installed, crews complete the finishing details that tie the exterior together. This can include working around vents, electrical fixtures, shutters, and other exterior components, as well as installing or reinstalling gutters and other included exterior improvements.
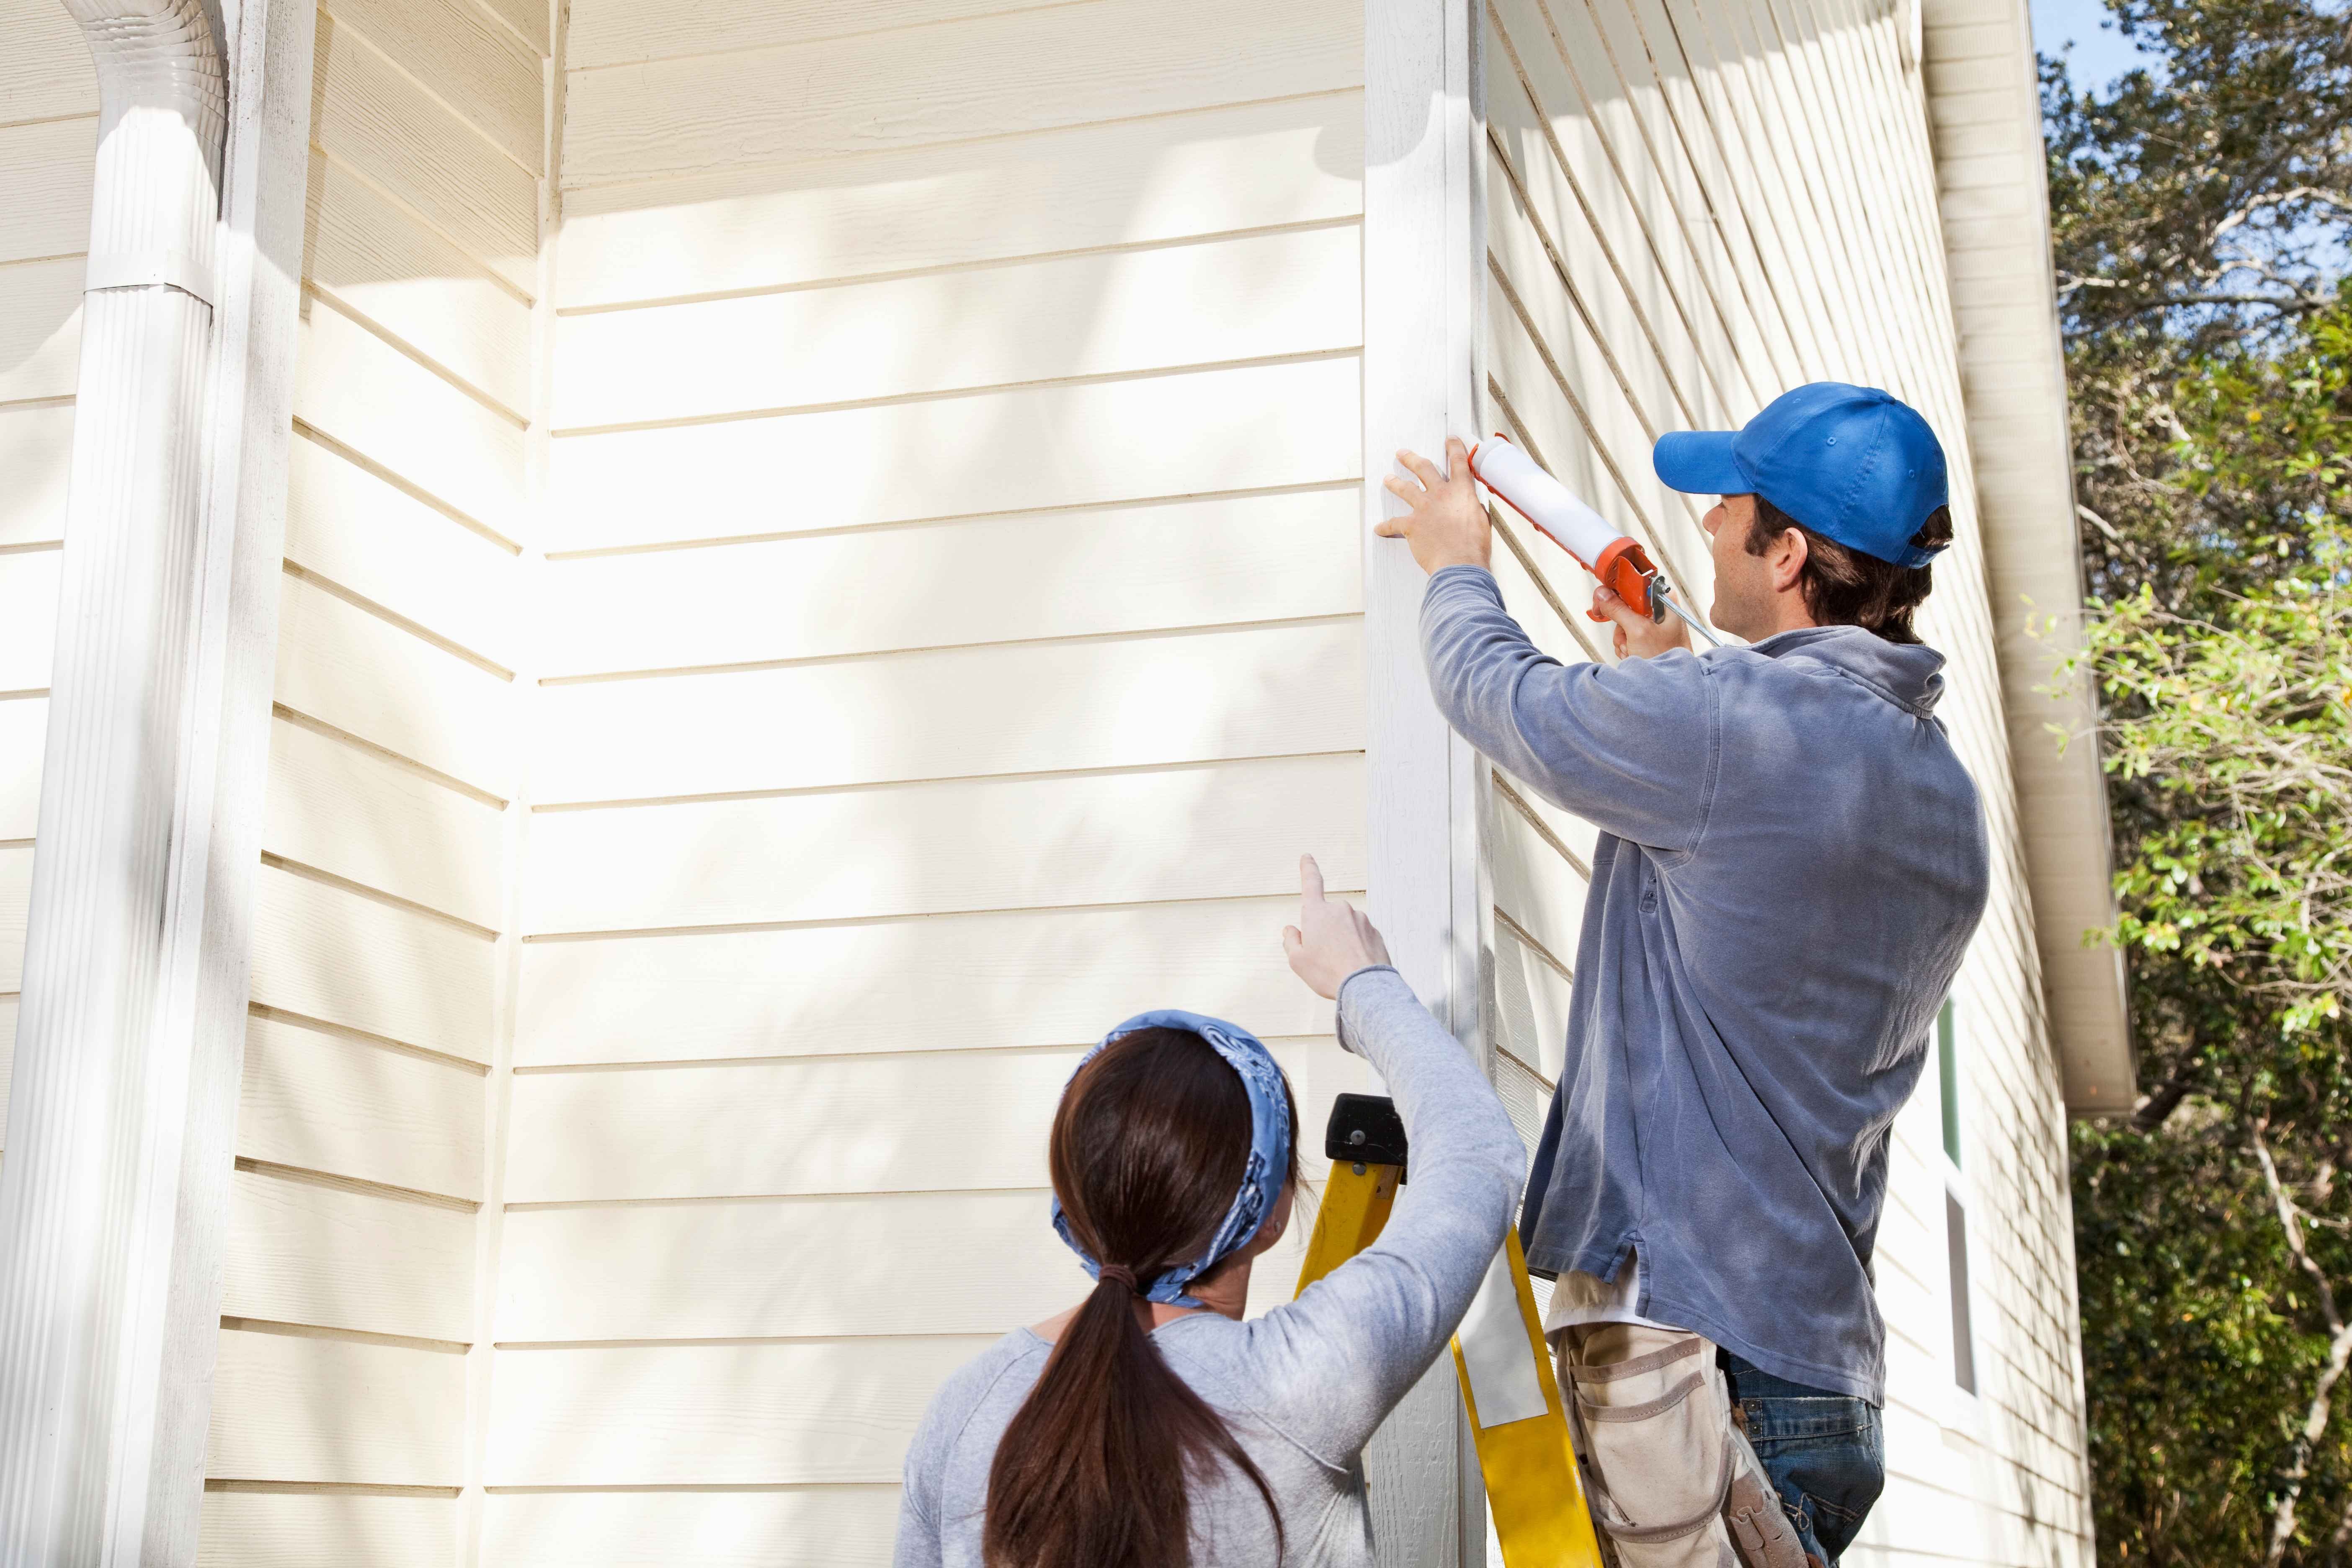
The crew also makes sure caulking is correct, reattaches exterior fixtures, removes construction materials, and cleans the property, including sweeping for stray nails and debris.
Finally, the completed siding is inspected for proper alignment, fastening, trim, and overall workmanship. These final steps help ensure the exterior has a clean, cohesive appearance while supporting the siding system's weather resistance and long-term performance.
Step 7: Project Manager Walkthrough
After installation and cleanup, the project manager will conduct a final walkthrough with the homeowner to review the completed work and identify any remaining issues.
During the walkthrough, the project manager will review the siding, trim, flashing, caulking, fasteners, and overall workmanship to ensure everything was installed properly and matches the agreed project details. The property will also be checked for remaining debris, scrap materials, or stray nails.
Any issues identified during the walkthrough will be addressed before the project is considered complete.
What Will My Property Look Like During Installation?
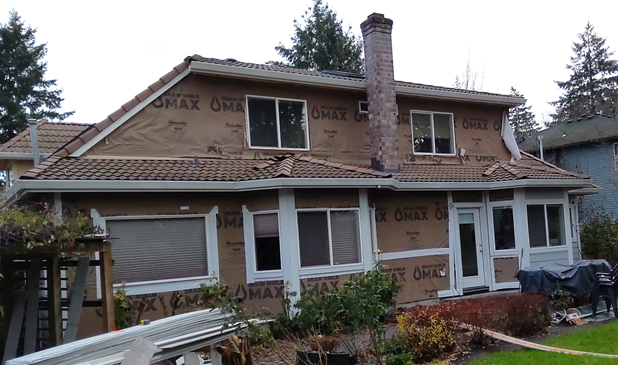
Siding completely stripped from a home we worked on
There will be periods when your home looks unfinished.
The most obvious is during siding removal, when portions of the exterior wall may be temporarily exposed. Later in the project, the siding may be installed while trim, caulking, paint, or other finishing details are still being completed.
This is normal.
The final appearance of the home comes together during the later stages of installation and finishing.
What Should Homeowners Expect from Noise, Dust, and Debris?
A siding replacement project is an active construction project, so some disruption is unavoidable.
You can expect:
|
What to Expect |
What It Means |
|
Noise |
Tools, pounding, cutting, sawing, and crew communication can create significant noise, particularly during demolition and siding cutting. |
|
Dust |
Cutting fiber cement siding can create fine dust that may collect on exterior surfaces, windows, outdoor furniture, and nearby areas. |
|
Debris |
Old siding, packaging, and scrap materials will be collected and removed. A dumpster will occupy part of your driveway, yard, or another designated area during the project. |
Keeping windows and exterior doors closed can help prevent dust and debris from entering your home.
How Will My Project Manager Keep Me Updated?
Communication is an important part of the siding replacement process.
Your project manager should keep you informed about project progress, scheduling changes, delays, and hidden damage.
If hidden rot, moisture damage, mold, or structural problems are discovered, homeowners should be notified promptly.
At Pacific Exteriors, project communication may include:
- Phone calls
- Texts/emails
- In-person updates
- Photographs of unexpected conditions
- Revised written estimates
- Timeline adjustments when necessary
This communication helps homeowners understand why a project may change rather than being surprised by an issue after the work is complete.
What Separates a High-Quality Fiber Cement Siding Installation from an Average One?
The difference between a good siding installation and a poor one is often found in details homeowners don't immediately see.
A high-quality installation should address the existing wall condition instead of simply covering it. It should incorporate a properly installed weather-resistive barrier and flashing, maintain appropriate clearances, use the correct fasteners, follow the manufacturer's installation requirements, and include careful layout and finishing.
Furthermore, professionalism also matters throughout the project. A quality contractor should communicate clearly, provide transparent updates, address unexpected issues openly, and keep the homeowner informed about changes to the timeline or scope of work. The crew should also protect the property, control dust and debris, properly support materials, and maintain a clean, organized worksite.
Ready for a Professional Fiber Cement Siding Installation?

A successful fiber cement siding project starts long before the first siding panel is installed. It begins with a thorough evaluation of the existing exterior, careful planning, proper wall preparation, and clear communication throughout the project.
Without a doubt, each stage contributes to the performance and appearance of the finished exterior.
At Pacific Exteriors, our team helps homeowners understand what’s involved before and during their siding replacement project. Our project managers remain involved throughout the installation process, including inspections, communication about unexpected damage, quality control, and the final walkthrough.
Considering fiber cement siding for your home? Contact Pacific Exteriors today to schedule a siding consultation and learn what your home may need before installation begins.
Frequently Asked Questions About Fiber Cement Siding Installation
How long does fiber cement siding installation take?
A typical fiber cement siding installation takes approximately 1 to 3 weeks, although the timeline can vary based on the home's size, height, architectural complexity, existing siding, hidden damage, and weather conditions.
What happens before fiber cement siding installation begins?
Before installation, the contractor typically inspects the exterior, takes measurements, discusses siding and design options, and coordinates scheduling, materials, permits, and other project details.
Will my old siding be removed before new siding is installed?
Yes. Removing the existing siding allows the contractor to inspect the underlying wall assembly and address potential problems before they are covered by the new siding.
Can hidden damage increase the cost of siding replacement?
Yes. Contractors may discover rotten sheathing, water damage, damaged framing, insect damage, or failed flashing after removing the old siding. These repairs can increase both the project's cost and timeline.
What is installed behind fiber cement siding?
A typical wall assembly may include sheathing, a weather-resistive barrier (WRB) or house wrap, and flashing. These components help manage moisture and protect the wall assembly.
Will there be noise and dust during siding installation?
Yes. Siding replacement is an active construction project. Homeowners should expect noise from tools and demolition, as well as dust from cutting fiber cement siding and debris from removed materials.
What happens after the siding is installed?
The crew completes finishing details, caulking, fixture installation, cleanup, and quality control. A project manager then conducts a final walkthrough with the homeowner to review the completed work.
What should I look for in a quality fiber cement siding installation?
A quality installation should include proper wall preparation, a correctly installed WRB and flashing, appropriate clearances, correct fasteners, compliance with manufacturer requirements, careful finishing, and clear communication throughout the project.